How ChatPic Works: A Complete Guide to Private Sharing
Not every image needs to stay available forever after you share it. Some images are only needed for a quick review, temporary access, or a one-time purpose.
Set Expiry Date
Limit Views
Add Password
Burn After View
Keeping those images online indefinitely can create unnecessary exposure and reduce your control over who sees them. ChatPic is designed to make temporary image sharing easier to manage.
With ChatPic, you can upload your images and decide how you want them to be accessed. You can set an expiration time, limit the number of views, or add a password before sharing. The platform then creates a private link that you can send to the intended recipient. In this guide, we will explain how ChatPic works and what happens at each step of the process.
How Does ChatPic Work?
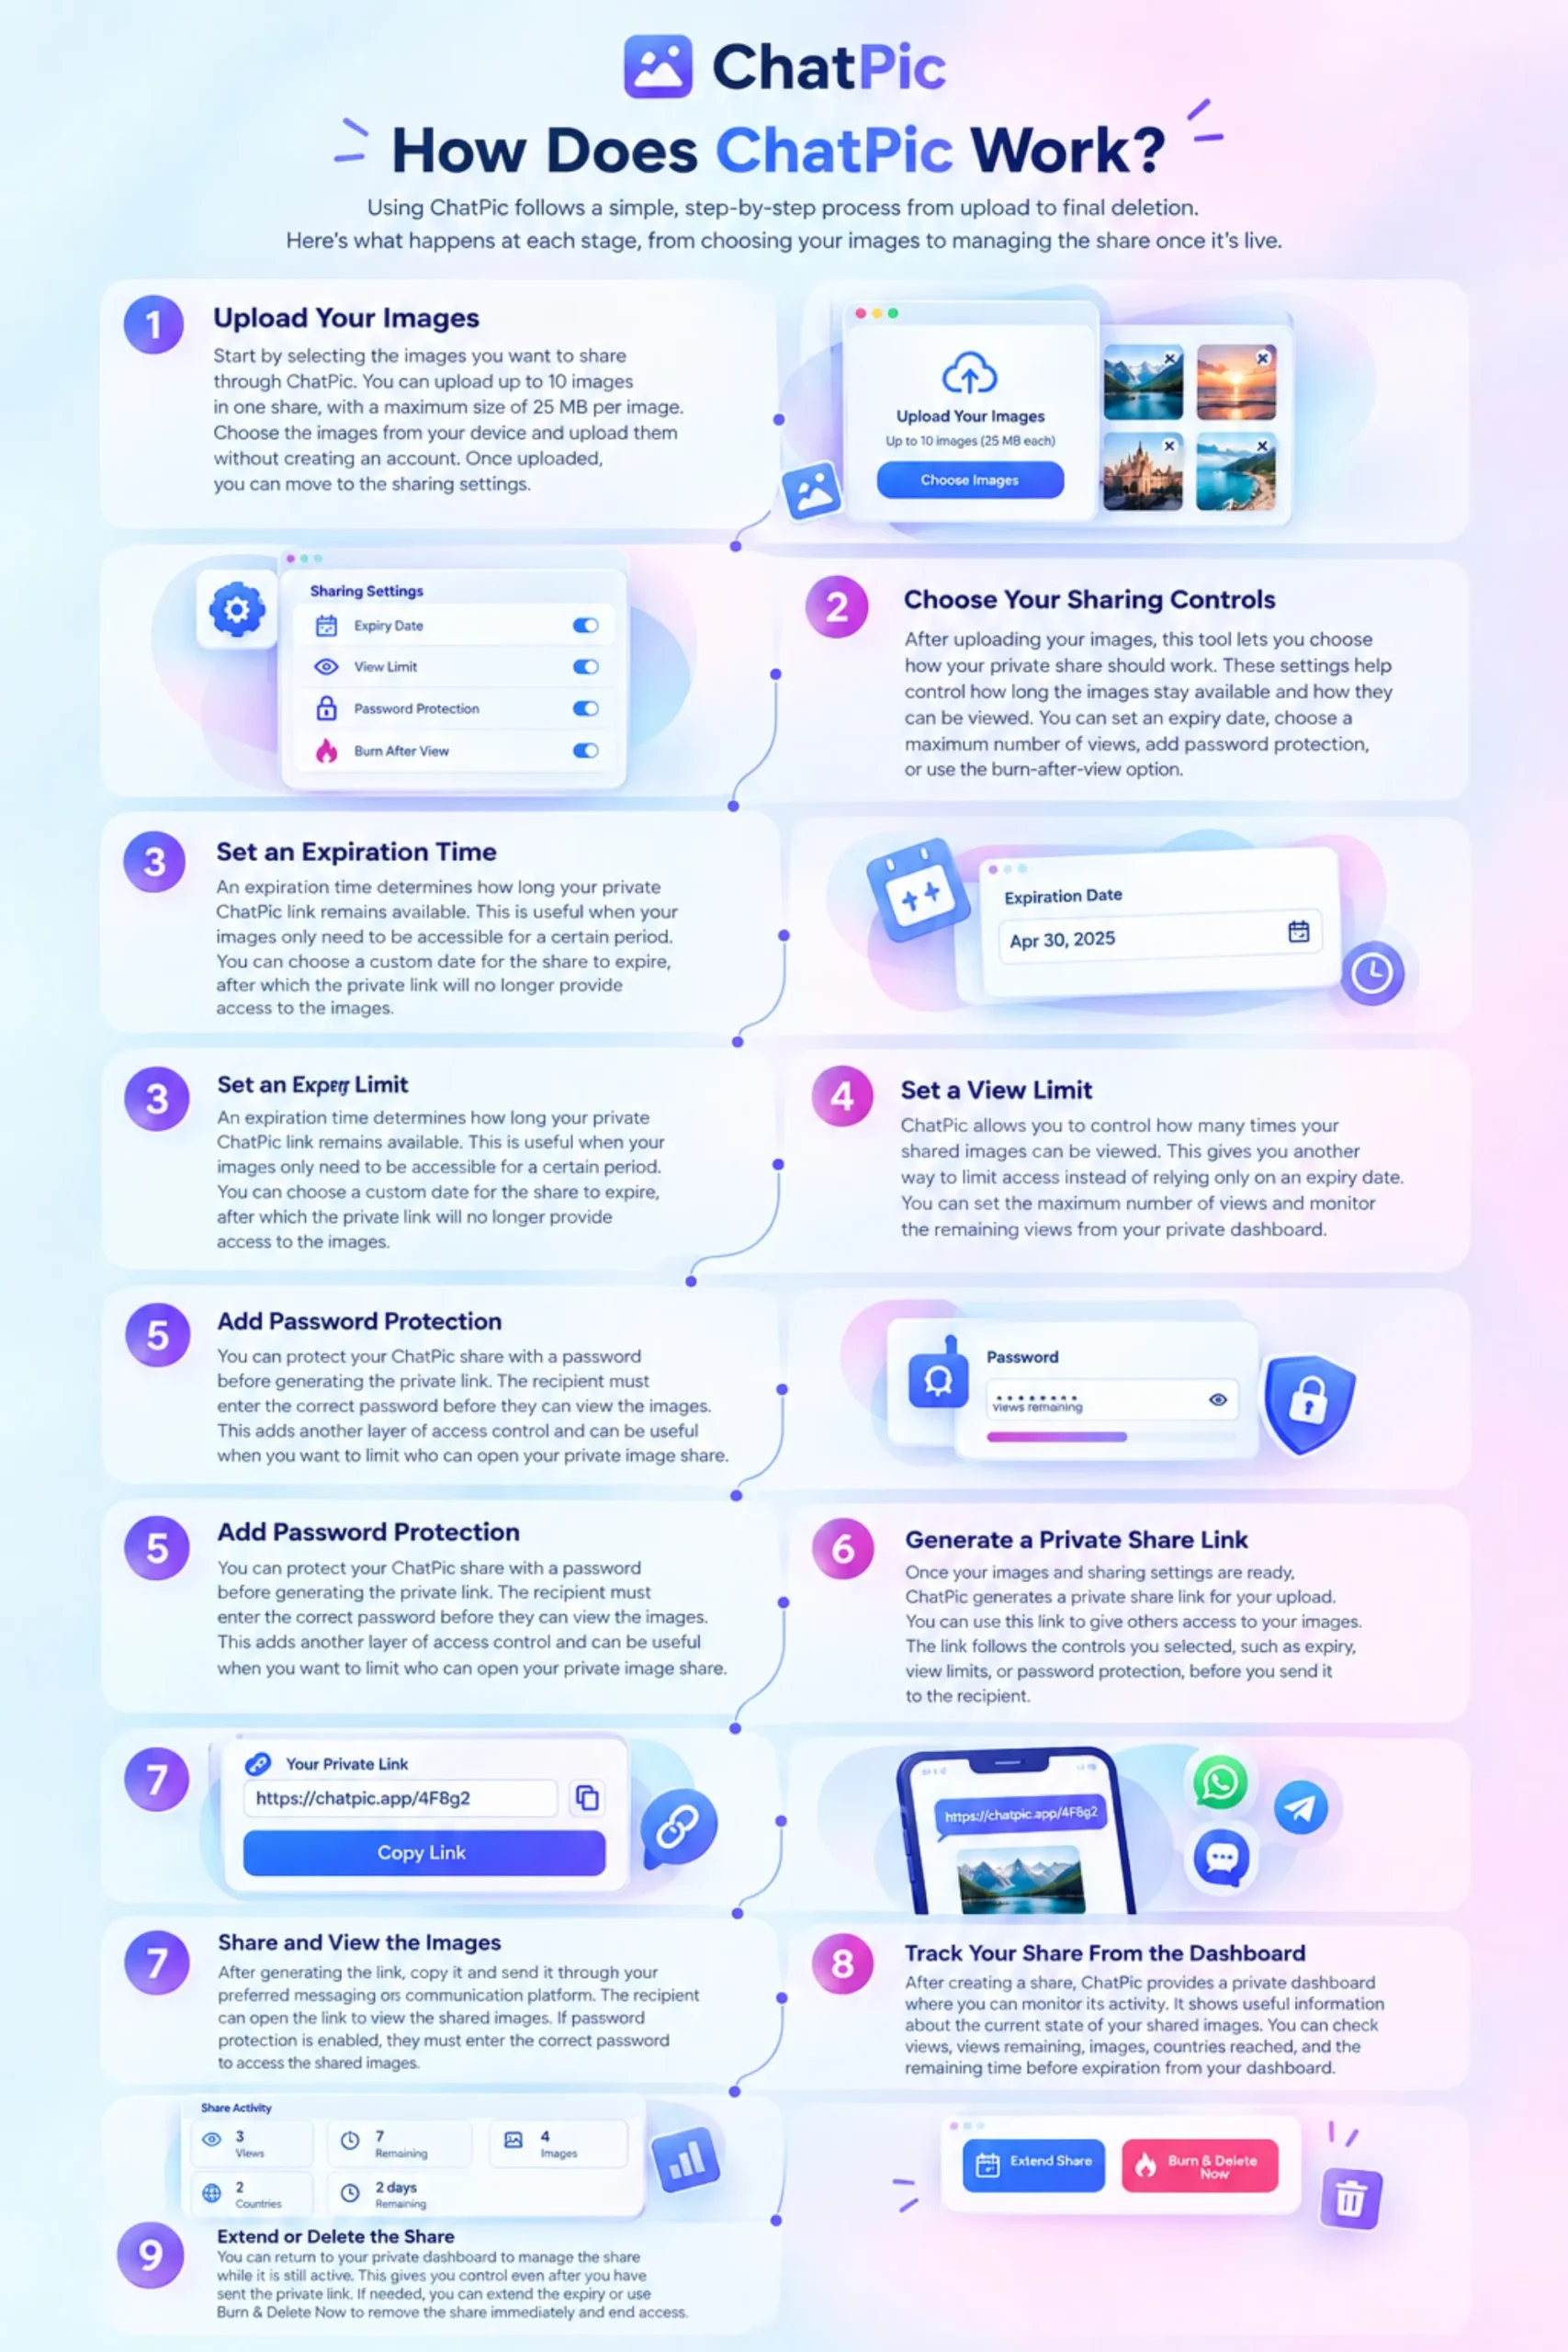
Using ChatPic follows a simple, step-by-step process from upload to final deletion. Here’s what happens at each stage, from choosing your images to managing the share once it’s live.
Upload Your Images
Start by selecting the images you want to share through ChatPic. You can upload up to 10 images in one share, with a maximum size of 25 MB per image. Choose the images from your device and upload them without creating an account. Once uploaded, you can move to the sharing settings.
Choose Your Sharing Controls
After uploading your images, this tool lets you choose how your private share should work. These settings help control how long the images stay available and how they can be viewed. You can set an expiry date, choose a maximum number of views, add password protection, or use the burn-after-view option.
Set an Expiration Time
An expiration time determines how long your private ChatPic link remains available. This is useful when your images only need to be accessible for a certain period. You can choose a custom date for the share to expire, after which the private link will no longer provide access to the images.
Set a View Limit
ChatPic allows you to control how many times your shared images can be viewed. This gives you another way to limit access instead of relying only on an expiry date. You can set the maximum number of views and monitor the remaining views from your private dashboard.
Add Password Protection
You can protect your ChatPic share with a password before generating the private link. The recipient must enter the correct password before they can view the images. This adds another layer of access control and can be useful when you want to limit who can open your private image share.
Generate a Private Share Link
Once your images and sharing settings are ready, ChatPic generates a private share link for your upload. You can use this link to give others access to your images. The link follows the controls you selected, such as expiry, view limits, or password protection, before you send it to the recipient.
Share and View the Images
After generating the link, copy it and send it through your preferred messaging or communication platform. The recipient can open the link to view the shared images. If password protection is enabled, they must enter the correct password to access the shared images.
Track Your Share From the Dashboard
After creating a share, ChatPic provides a private dashboard where you can monitor its activity. It shows useful information about the current state of your shared images. You can check views, views remaining, images, countries reached, and the remaining time before expiration from your dashboard.
Extend or Delete the Share
You can return to your private dashboard to manage the share while it is still active. This gives you control even after you have sent the private link. If needed, you can extend the expiry or use Burn & Delete Now to remove the share immediately and end access.
How ChatPic Session ID Watermarking Works
ChatPic can add a unique Session ID to an image while someone is viewing a private share. This ID is connected to the viewing session and can help identify the session associated with the image. It adds another layer of accountability when sharing images through private links.
If someone takes a screenshot of a watermarked image and shares it elsewhere, the visible Session ID can help with leak tracing. It does not stop someone from taking screenshots, but it can make the shared image easier to connect with its viewing session.
Common Mistakes People Make When Using ChatPic
A few simple mistakes can affect how well you control a shared image. The table below shows the common issues and how to avoid them.
| Common Problem | Solution |
|---|---|
| Sharing the private link with the wrong person | Check the recipient before sending the link. In case of wrong sharing, delete the image from the dashboard and share it again with the right person. |
| Forgetting to set an expiration time | Choose an expiry date before generating the link. If you forgot to do this, then go to your dashboard and set the link expiry date from there. |
| Not setting a view limit | Setting an image limit is a crucial step when sharing a private image with someone. If you do not set it before generating the link, then delete the image and set it up again. |
| Sharing the password with the link | Avoid sending the password and private link together. Share the password separately so the recipient needs both details to access the protected images. |
| Losing the private dashboard URL | Bookmark your private dashboard URL after creating the share. You need this URL to check activity, manage the share, extend its expiry, or delete it. |
FAQs
Final Words
To conclude, ChatPic makes private image sharing simple, from uploading images to creating and managing a private link. You can set expiry dates, view limits, passwords, and track activity through the dashboard. Its Session ID watermark also adds extra accountability. If you need a simple way to share images temporarily, ChatPic is worth trying.